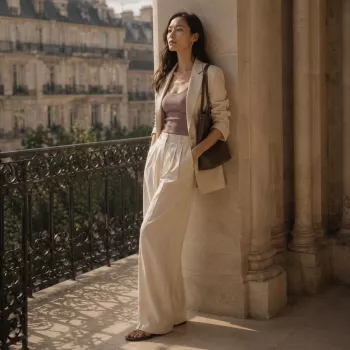
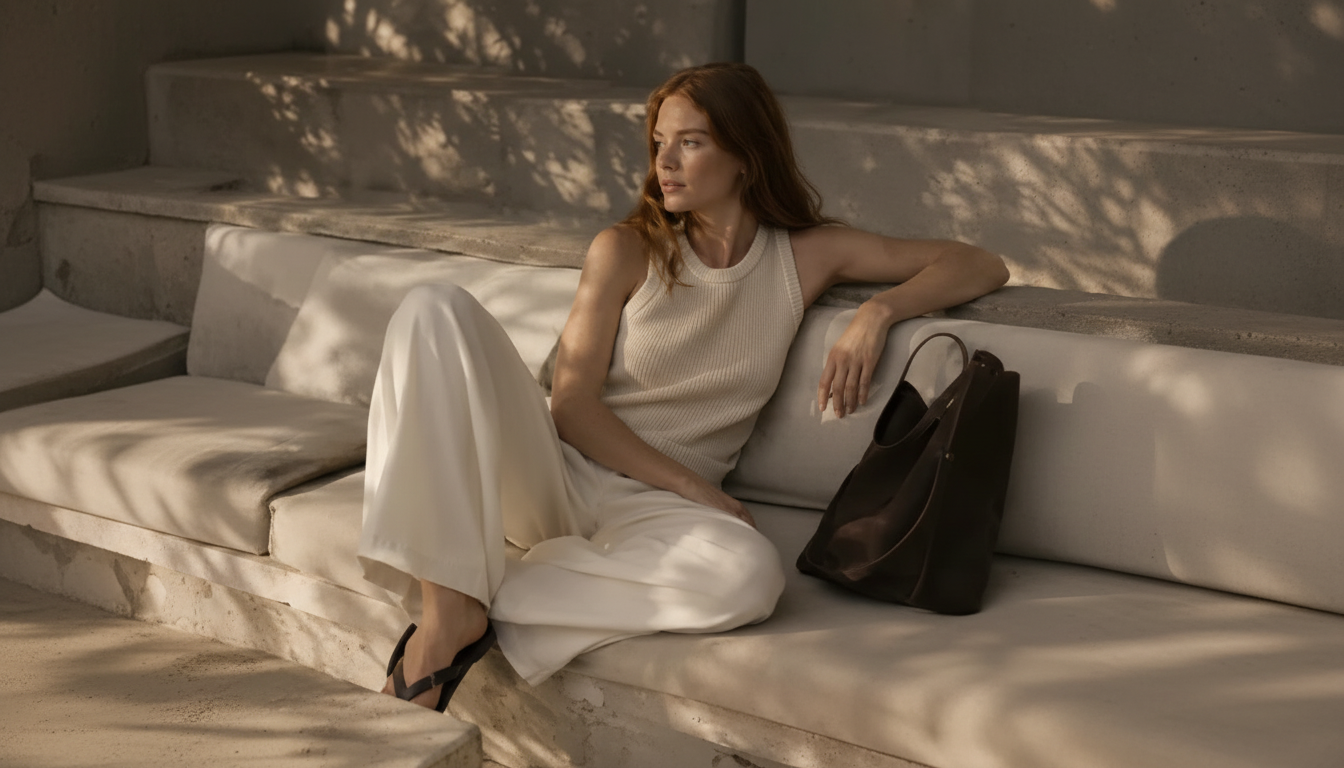
Lighting That Makes Outfits Look Expensive on Camera
Great fashion content is as much about light as it is about clothing. The right setup keeps skin tones natural, textures crisp, and colors accurate—so prints, denim washes, and accessories look true-to-life instead of flat or muddy. Below are practical lighting choices for fashion creators across try-ons, flat lays, and short-form video, with simple setups that work in small spaces. For more guidance, see Lighting Design – Theater – Research Guides at UCLA Library.
What good lighting changes in fashion content
When lighting is dialed in, outfits read like they do in real life—structured, dimensional, and intentional—rather than “washed” or overly contrasty. For further reading, see Behind the Lens: The Artistry and Business of Fashion Photography.
- Color accuracy: prevents whites from turning yellow/blue and keeps blacks from crushing into a single dark blob.
- Texture and detail: shows knitwear, leather grain, embroidery, and denim fades without harsh glare.
- Body and drape: adds depth so silhouettes read clearly (waist definition, pleats, shoulder structure).
- Consistency: repeatable results for series content, lookbooks, and product drops.
- Editing speed: clean exposure reduces time spent correcting shadows and color casts.
Two technical factors quietly do a lot of heavy lifting: color rendering (how faithfully a light shows color) and white balance (how warm/cool the camera interprets your scene). For deeper reference, see CIE resources on color appearance and Adobe’s overview of white balance basics.
The three lighting goals: soft, directional, and even
“Expensive” on camera usually means flattering skin, visible fabric texture, and consistent brightness from head to toe.
- Softness controls how flattering the image is; larger light sources (or diffusion) create softer shadows.
- Direction adds shape; a light placed 30–45° to one side brings out fabric texture and avoids “passport photo” flatness.
- Evenness keeps outfits readable from head to toe; balance brightness between face and full body framing.
- Distance matters: moving lights farther back reduces hotspotting on shiny fabrics and helps full-body coverage.
A simple rule: if your face looks perfect but your pants look two shades darker, the light is usually too close and too high for a full-body frame.
Common lighting types and when to use them
Ring lights
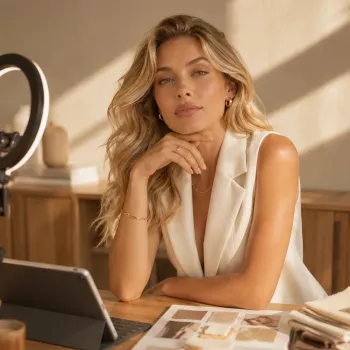
Ring lights are fast and beginner-friendly for face-forward shots, but they can flatten outfits and create circular catchlights. They tend to work best when paired with a second light (or a reflector) so clothing details don’t disappear below the neckline.
Softboxes
Softboxes are a standout choice for fashion: broad, soft coverage for garments and fewer harsh reflections on satin, leather, and sequins. A medium-to-large softbox placed a bit farther back often makes outfits look smoother, more premium, and more “editorial.”
LED panels
LED panels are flexible and space-saving. Use them as a fill light to open shadows, or as a hair/rim light behind you to separate dark outfits from dark backgrounds.
Natural window light
Window light is beautiful and free, but it changes throughout the day. For consistency, diffuse it with a sheer curtain and add a reflector (even a white foam board) on the opposite side to lift shadows.
Quick setup recipes for the most common fashion shots
Full-body try-on (small room)
Place a key light at about 45° to the front and slightly above eye level. Add a weaker fill light (or a reflector) on the opposite side to soften shadows under the chin and along the legs. If the frame still looks top-heavy (bright face, dark jeans), move the key farther back to spread coverage.
Mirror try-on
Flat lays
Detail shots (bags, jewelry, shoes)
Short-form video
Placement cheats: key, fill, and separation
Fast fixes for the most common lighting problems
Lighting setups at a glance
| Content type | Best light style | Placement | Why it works | Common mistake to avoid |
|---|---|---|---|---|
| Full-body try-on | Softbox or large diffused LED | 45° front, slightly above eye level; fill opposite | Even coverage head-to-toe with flattering shadows | Key too close creates bright face + dark legs |
| Mirror try-on | Two diffused lights | Angled outward, slightly higher than mirror center | Reduces glare and reflection hotspots | Bright light centered behind the phone |
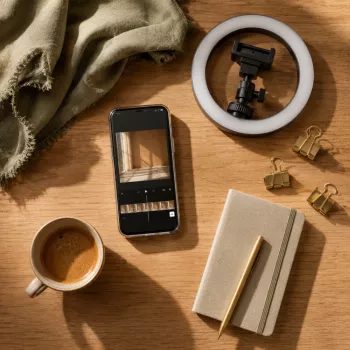
| Flat lay | Window light or softbox | Side light + white bounce card | Shows fabric folds and texture without harshness | Overhead bare light flattens and adds hard shadows |
| Accessories close-ups | Small LED + diffusion | Grazing angle; bounce card for fill | Controls reflections while preserving detail | Direct, undiffused light causes blown highlights |
| Short-form video series | Stable LED setup | Fixed positions + locked white balance | Consistent color across clips | Mixing daylight with warm room bulbs |
A simple starting point for consistent results
Recommended picks to streamline your setup
- Lighting for Fashion Creators (digital guide)
- 90 Days of Summer Outfits (outfit plan for consistent content)
- Summer Capsule for Plus Size (capsule ideas that film well across repeats)
FAQ
What color temperature looks best for filming outfits?
Pick one consistent color temperature (often daylight-balanced) and match every light to it, then lock white balance in-camera so clips don’t drift warmer or cooler. Avoid mixing window daylight with warm household bulbs in the same scene.
How do you light full-body try-ons in a small room?
Move the key light farther back to spread coverage from face to shoes, then add a weaker fill light or reflector opposite the key to soften shadows. Stand a few feet from the wall to reduce hard shadows and keep the background cleaner.
How can shiny fabrics be lit without glare?
Diffuse the light and change the angle so reflections bounce away from the lens rather than straight into it. Increasing the distance and using simple flags or bounce cards helps shape highlights so satin, sequins, and leather keep detail.